In the whirlwind of modern life, finding time for wholesome, homemade meals often feels like an impossible dream. We're constantly juggling work, family, and personal commitments, leaving little energy for elaborate cooking. But what if there was a simple, delicious solution that could transform your busy weeks from stressful to serene? Enter the mighty freezer burrito – a true hero in the realm of meal prep, offering unparalleled convenience, health benefits, and budget-friendliness all wrapped up in one perfect package.
Imagine this: a healthy, filling meal, packed with ingredients you love and recognize, ready in minutes with minimal effort. Whether you need a quick breakfast on the go, a satisfying lunch at your desk, or an easy dinner after a long day, homemade freezer burritos have you covered. Forget bland, expensive store-bought versions; these customizable culinary marvels are designed for real everyday life, making your future self incredibly grateful.
Why Freezer Burritos Are Your Meal Prep Superhero
The concept of making a big batch of food to enjoy later isn't new, but freezer burritos elevate it to an art form. They aren't just a meal; they're a time-saving strategy, a health-conscious choice, and a clever way to stretch your food budget further.
Unmatched Convenience & Time-Saving
The primary appeal of freezer burritos lies in their incredible convenience. You dedicate a small chunk of time once to assemble a generous batch, and then you reap the rewards for weeks or even months. This means:
- No more daily cooking stress: The effort is front-loaded, freeing up your precious weeknight evenings.
- Instant meals: A healthy, homemade meal is always just a few minutes away in the microwave or oven.
- Perfect for any occasion: From a quick breakfast grab on the way out the door to an unexpected guest's dinner, they adapt to every need.
- Reduced decision fatigue: One less thing to plan or think about when hunger strikes.
Healthy & Wholesome Control
Unlike many processed convenience foods, homemade freezer burritos put you in complete control of your ingredients. This allows you to:
- Prioritize lean proteins: Options like lean ground turkey or extra-lean ground beef provide significant protein without excess fat. Some recipes even boast an impressive 50g of protein per burrito, making them a fantastic choice for those focused on fitness goals. For more on this, check out our guide on Protein-Packed Freezer Burritos: Healthy & Convenient Meal Prep.
- Pack in fiber: Refried beans, high-fiber tortillas, and added vegetables contribute essential dietary fiber, aiding digestion and promoting satiety. You can easily achieve 30 grams of fiber or more in a single serving!
- Avoid unwanted additives: Say goodbye to artificial flavors, preservatives, and excessive sodium often found in store-bought alternatives.
- Customize to dietary needs: Easily adjust for allergies, preferences, or specific dietary plans like vegetarian, gluten-free, or low-carb.
Budget-Friendly & Waste-Reducing
Making meals from scratch almost always saves money compared to eating out or buying pre-made options, and freezer burritos are no exception. You can:
- Buy ingredients in bulk: Take advantage of sales on meat, beans, and tortillas.
- Utilize pantry staples: Many recipes rely on simple, affordable ingredients you likely already have.
- Reduce food waste: Use up leftover cooked meats or vegetables by incorporating them into your burrito fillings.
- Dodge impulse buys: With a freezer stocked with delicious burritos, the temptation for expensive takeout or drive-thru meals significantly diminishes. For a deeper dive into cost savings, explore Homemade Freezer Burritos: Easy, Budget-Friendly, Better Than Store-Bought.
Crafting Your Perfect Freezer Burrito: The Core Components
The beauty of freezer burritos lies in their versatility. While there's a foundational structure, the possibilities for fillings are endless. Here’s a look at the essential elements:
The Tortilla Foundation
The tortilla is more than just a wrapper; it's the vessel that holds all the deliciousness together. For freezer burritos, choose larger, sturdy tortillas (10-12 inches) that won't tear when rolled and reheated. Modern high-fiber tortillas are a game-changer, offering not just improved nutrition but also a great texture. Brands like Mission, Xtreme Wellness, and La Banderita are widely available and perform excellently. Many of these options are super soft, hold up well to freezing, and can even crisp up beautifully if you pan-crisp them after reheating.
Protein Powerhouse Fillings
This is where your burritos get their muscle and flavor. The reference context highlights two excellent choices:
- Lean Ground Turkey: A healthy, versatile option that readily absorbs flavors. It's an excellent base for any Tex-Mex or Southwestern profile.
- Extra Lean Ground Beef: For those who prefer a richer, "beef-forward" flavor, extra lean ground beef is fantastic. Because it's so lean, there's often no need to drain fat, simplifying the cooking process. Season it well with taco seasoning, chili powder, cumin, and perhaps a touch of cayenne.
Pro Tip: To add incredible flavor and creaminess, incorporate elements like enchilada sauce and a dollop of plain Greek yogurt into your cooked meat mixture. This not only enhances taste but also boosts the protein content and helps the filling stay moist.
For vegetarian options, consider seasoned black beans, crumbled firm tofu, lentils, or a hearty blend of roasted vegetables.
Fiber-Rich & Flavorful Additions
Beyond the protein, these ingredients add depth, texture, and vital nutrients:
- Refried Beans: A classic burrito staple, refried beans (or whole black beans) provide essential fiber and a creamy texture that acts as a fantastic binder and flavor enhancer. Spreading a thin layer of beans on the tortilla first can also help create a barrier against moisture, preventing your burrito from becoming soggy.
- Cheese: Shredded cheddar, Monterey Jack, or a Mexican blend adds a gooey, savory element that everyone loves.
- Vegetables: Don't shy away from adding finely diced bell peppers, onions, corn, or even a handful of spinach. These not only boost nutrition but also add texture and freshness. Just make sure they are cooked or sautéed lightly to avoid excess moisture.
- Rice: Cooked rice (brown or white) can add bulk, extra energy, and a satisfying chewiness to your burritos.
Step-by-Step Assembly & Freezing for Success
The process of making freezer burritos is straightforward, but a few key steps ensure they hold up beautifully in the freezer and reheat perfectly.
Cooking Your Fillings
- Cook Protein: Brown your chosen ground meat (turkey or beef) with your desired seasonings. If using Greek yogurt or enchilada sauce, stir them in thoroughly until a creamy mixture forms.
- Prepare Beans: Heat refried beans or seasoned black beans.
- Cool Down: It's crucial to allow all your fillings to cool slightly before assembling. Hot fillings create steam, which can lead to soggy tortillas once frozen.
Assembling Your Masterpiece
- Warm Tortillas: Briefly warming your tortillas (in the microwave or a dry pan) makes them more pliable and less likely to crack when rolled.
- Layer Carefully: Lay a warmed tortilla flat. Spread a thin layer of refried beans down the center, leaving ample space around the edges. This bean layer acts as a fantastic moisture barrier.
- Add Fillings: Spoon your cooled meat mixture over the beans, followed by cheese and any other desired additions like rice or vegetables. Don't overfill! A common mistake is stuffing too much, which makes rolling difficult.
- Roll Tightly: Fold the sides of the tortilla inward, over the filling. Then, starting from the bottom, roll the burrito upwards very tightly, tucking in the filling as you go, to create a compact, secure package.
The Freezing Process
Proper wrapping is key to preventing freezer burn and maintaining quality:
- Individual Wrap: Wrap each assembled burrito tightly in parchment paper, then foil, or simply in plastic wrap. The goal is to create an airtight seal.
- Batch Storage: Place the individually wrapped burritos into a large freezer-safe bag or an airtight container. This provides an extra layer of protection.
- Label & Date: Don't forget to label your bag or container with the type of burrito and the date it was made. They typically last for 2-3 months in the freezer without a significant loss in quality.
Reheating & Enjoying Your Frozen Burrito Delights
The best part about freezer burritos is how quickly they transform from a frozen block into a hot, satisfying meal. You have a few options for reheating, each offering a slightly different result.
Microwave Method (Quickest)
This is your go-to for speed and convenience:
- Remove Outer Wrap: Unwrap the burrito from foil (if used), but keep it wrapped in parchment or plastic wrap (if microwave-safe). If only wrapped in foil, re-wrap it loosely in a damp paper towel.
- Heat: Microwave for 2-4 minutes from frozen, flipping halfway through, until heated through. If thawed, it will take less time (1-2 minutes).
- Rest: Let it rest for a minute or two to allow the heat to distribute evenly.
Oven or Air Fryer Method (For Crispier Texture)
If you prefer a slightly crispy exterior, the oven or air fryer is your friend:
- Preheat: Preheat your oven to 375°F (190°C) or air fryer to 350°F (175°C).
- Wrap: Keep the burrito wrapped in foil (remove plastic/parchment).
- Bake/Air Fry: Bake for 30-45 minutes from frozen, or 20-30 minutes if thawed, until heated through. In an air fryer, it might take 20-30 minutes. For an extra crisp, remove the foil for the last 5-10 minutes.
Pan-Crisping (Ultimate Texture)
For the absolute best texture, with a golden-brown, slightly crispy tortilla, try pan-crisping:
- Microwave First: Reheat the burrito in the microwave until mostly warm (2-3 minutes from frozen, or 1-2 if thawed).
- Pan-Fry: Heat a lightly oiled non-stick skillet over medium heat. Place the burrito in the pan and cook for 2-3 minutes per side, until the tortilla is golden brown and crispy.
Serving Suggestions
Your delicious freezer burritos are excellent on their own, perfect for handheld eating. But you can easily dress them up with simple sides or toppings:
- Salsa or pico de gallo
- Guacamole or sliced avocado
- Sour cream or Greek yogurt
- A dash of hot sauce
- A simple side salad or extra refried beans
Beyond the Basics: Customization & Creative Ideas
Once you've mastered the basic freezer burrito, don't hesitate to experiment! The beauty of homemade food is the freedom to tailor it precisely to your preferences.
Tailoring to Your Taste & Diet
- Vegetarian/Vegan: Swap meat for seasoned black beans, pinto beans, sweet potatoes, corn, or a flavorful tofu scramble. Use vegan cheese and sour cream alternatives.
- Spice Level: Adjust the amount of chili powder, jalapeños, or hot sauce to match your heat preference.
- Cheese Varieties: Explore different cheeses like cotija, pepper jack, or a sharp cheddar for varying flavor profiles.
- Gluten-Free: Many brands now offer excellent gluten-free tortillas that freeze and reheat well.
Exploring Flavor Profiles
While Tex-Mex is the classic, you can easily pivot to other cuisines:
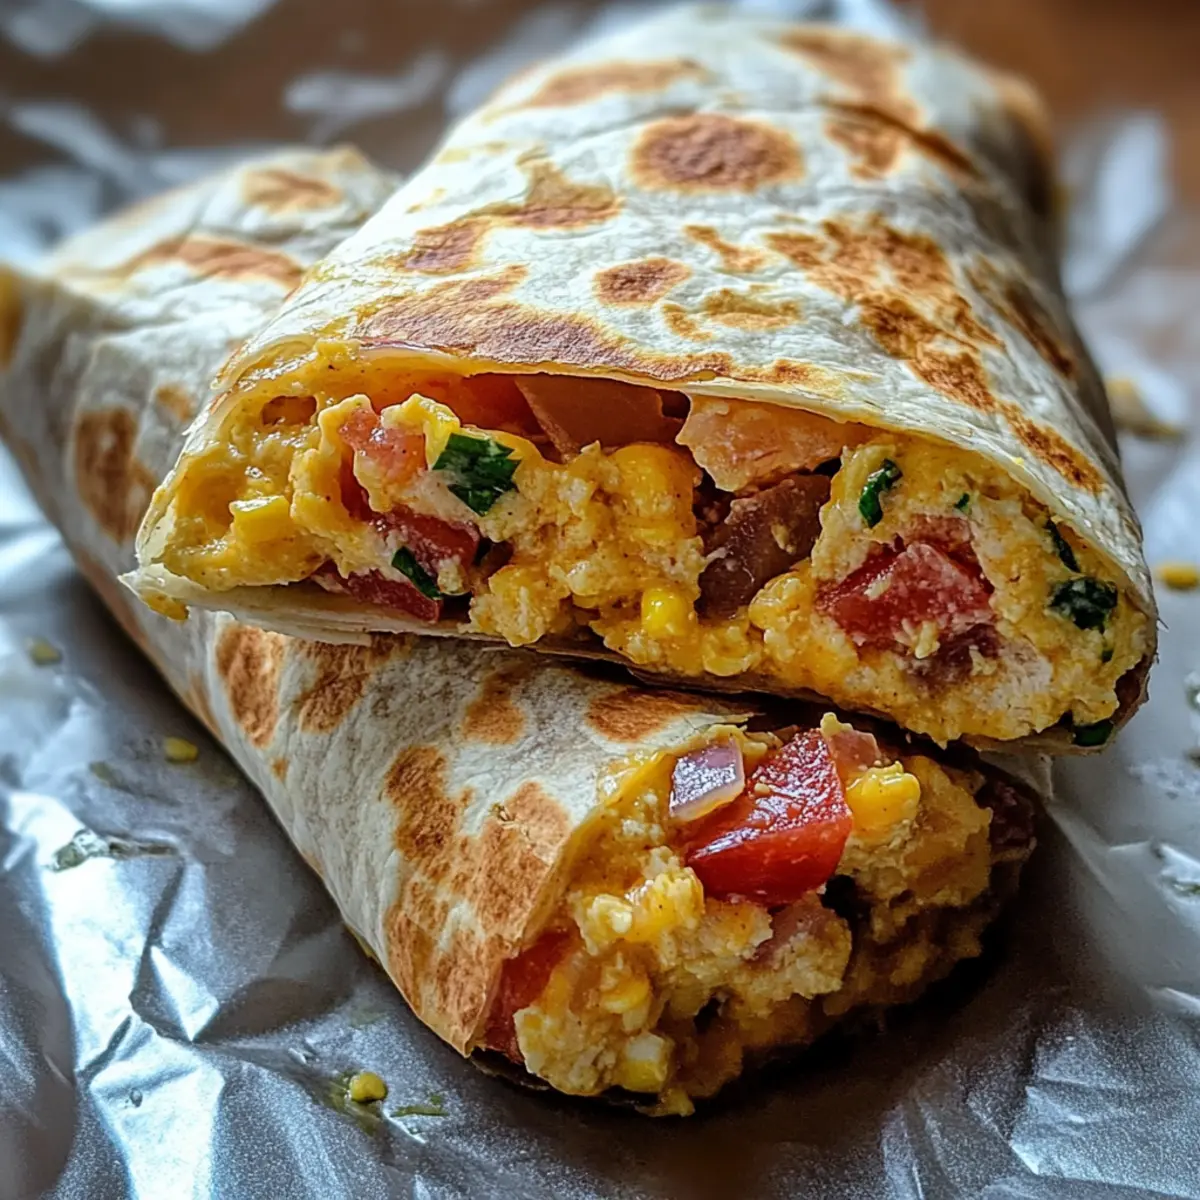
- Breakfast Burritos: Fill with scrambled eggs, cooked sausage or bacon, potatoes, and cheese.
- Mediterranean: Try a filling of ground lamb or chicken with feta, spinach, and rice, seasoned with oregano and lemon.
- Asian-Inspired: Use a stir-fry blend of ground pork or chicken with shredded cabbage, carrots, and a soy-ginger sauce.
Conclusion
In a world that constantly demands more of our time and energy, finding smart, effective ways to simplify daily routines is invaluable. Freezer burritos offer that rare combination of convenience, health, and flavor, empowering you to enjoy wholesome, homemade meals without the daily grind. They are a testament to the power of thoughtful meal prep – a delicious, budget-friendly, and stress-reducing solution that truly makes life easier. So, take an hour or two this weekend, whip up a batch, and experience the pure joy of knowing your future self will be happily fed and stress-free. Your culinary superhero awaits!
